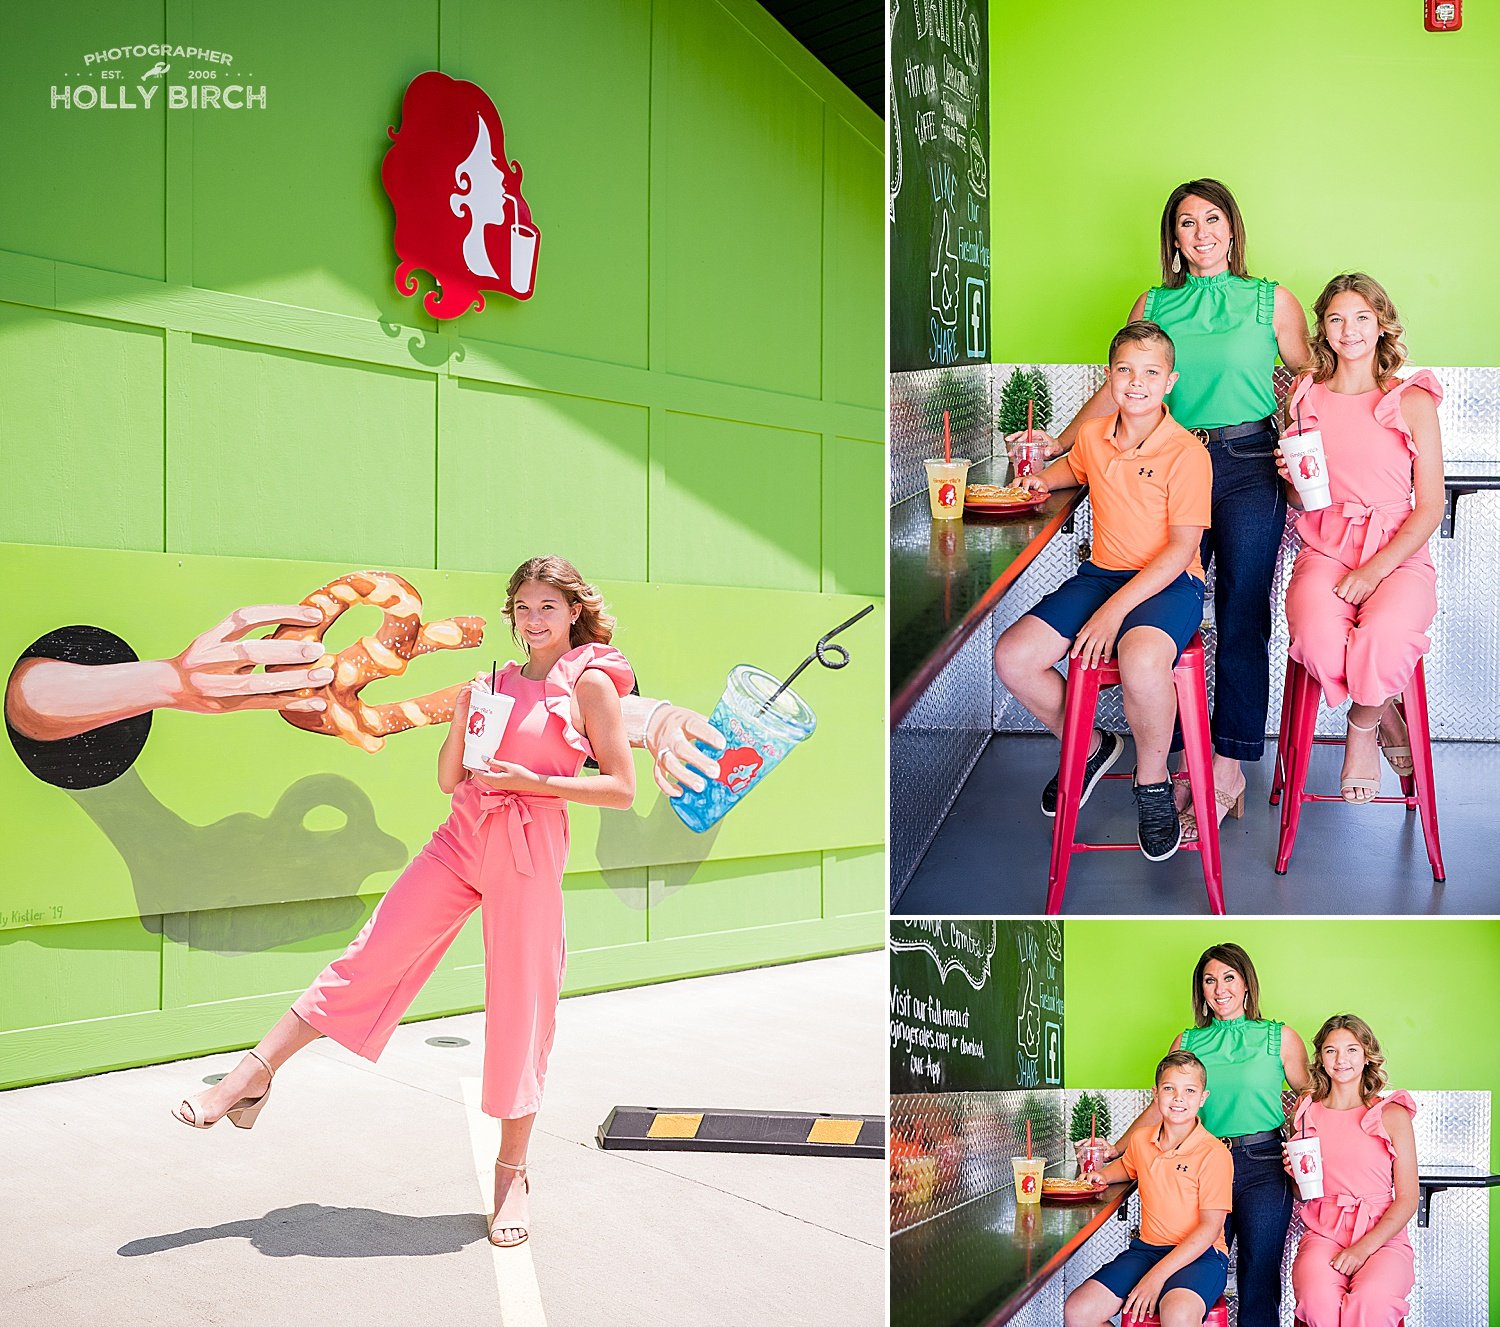
Candid commercial brand shoot for Ginger Ale's drive-thru restaurant
EXCITING NEWS for my readers in the Champaign-Urbana area… Ginger Ale’s is opening in Savoy TODAY! I am planning to attend the grand opening & ribbon cutting and can’t wait to get my hands on some more of their tasty treats (hello, marshmallow tea!!).
And in the spirit of the food shoots I’ve done for their family of restaurants, I thought I’d share some helpful tips to consider before scheduling your own food or restaurant session.
Lighting is key: Good lighting can make or break your food photos. Utilize natural light whenever possible, as it tends to provide a more appealing and realistic look. Position your subject near a window or shoot outdoors during daylight hours for the best results.
Choose the right backdrops: Select a backdrop that complements your food and enhances its colors and textures. Simple and neutral backgrounds like wooden boards, marble slabs, or plain white plates often work well and keep the focus on the food.
Plate your food thoughtfully: Pay attention to the presentation and arrangement of your dish. Use clean and attractive plates, bowls, or serving utensils. Consider the color combinations and textures of the food items to create an appealing composition.
Play with props and garnishes: Props and garnishes can add visual interest and context to your food photos. Experiment with complementary items like utensils, napkins, herbs, spices, or ingredients related to the dish. However, be cautious not to overdo it, as the main focus should still be on the food itself.
Consider the angle and perspective: Try different angles and perspectives to find the most flattering shot. Shooting from above (flat lay), a 45-degree angle, or at eye level can provide interesting viewpoints. Experiment and see what works best for the particular dish you're capturing.
Pay attention to composition: Apply the rule of thirds, leading lines, and symmetry to create a visually pleasing composition. Place the main subject off-center for a more dynamic image, and use the lines or shapes within the frame to guide the viewer's eye.
Focus on details: Capture the intricate details and textures of the food. Zoom in on droplets of sauce, grains of salt, or steam rising from a dish to add depth and create a sensory experience for the viewer.
Shoot quickly: Food tends to look its best when it's fresh and just prepared. Be prepared and have your camera or phone ready, so you can capture the food at its peak before it loses its visual appeal.
Experiment with depth of field: Controlling the depth of field can create different effects in your photos. A shallow depth of field (wide aperture) can help isolate the main subject and create a soft, blurred background. A deeper depth of field (narrow aperture) can keep the entire scene in focus.
Edit with care: Post-processing can enhance your photos, but be cautious not to overdo it. Adjust brightness, contrast, and colors to bring out the best in your image, but maintain a natural and realistic look. There are various photo editing tools and apps available to help you achieve the desired results.
Remember, practice makes perfect, so keep experimenting, refining your techniques, and developing your own style as you delve into the world of food photography.