My backup and storage process
(This post contains affiliate links.)
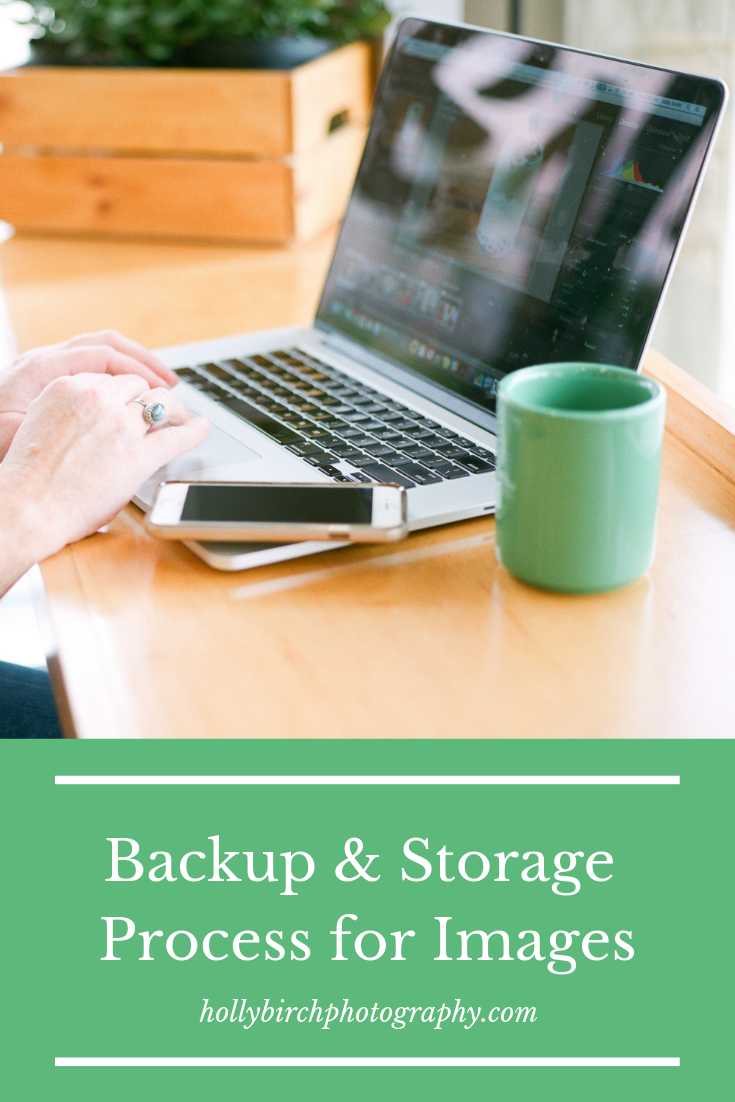
I’m working my way through a bunch of Frequently Asked Questions that I commonly get from brides (and also a few that are always included in those checklists in wedding magazines!). :) I want to touch a bit on image backups and how you can be secure in knowing that your wedding day photos (and any of my photos really) are safe and in good hands.
Typically, I transfer the images from my memory cards to my computer the same night of the wedding, or first thing the next morning. I then copy all the files to my external hard drive backup, so they are then in 3 different places right off the bat. And since I do a #weddingwednesday blog post on the Wednesday following every wedding, a crucial step in that process is “culling” the images within 48 hours of the wedding. Culling is a photographer term that means we choose our “keepers” and weed out the non-keepers — blinking, blurry, overexposed, duplicates, etc. I then make an additional copy of the keeper images, and then copy the whole thing over again to my external hard drive. For those of you keeping score at home, that’s now five copies. :)

Photo credit (both images in this post): Kristin Darling
The next step is editing the blog images. I will import those keeper images into Lightroom, where I do 95% of my editing. I go through and “flag” my blog images, which usually ends up being around 100 images. Once I edit those images, I export them as jpegs (because I shoot in RAW), set up as manageable file sizes for my blog. I then use another program to create and name the collages you see in my wedding posts.
Blogging is such an important step in my workflow because it keeps me efficient and keeps me on schedule. It is also super important for my Google/SEO strategy, and keeps me accountable to myself in that area. Having 100 out of around 800 images already edited for the blog post makes it much easier to face the daunting task of editing those 800, because 1/8 of the work is already done and I can sync some of the images to save time.
Once the full wedding is edited (within 3-4 weeks, sometimes less!), I export the full set of jpegs, and the copy those also to my external hard drive, and then make the client’s gallery on my Shootproof account. I also use Zenfolio for an additional cloud backup of the final jpeg images. I then delete the unnecessary RAW files (the non-keepers) on my hard drive and format my memory cards, bringing the grand total to 3 “physical” copies and 2 cloud backups.

My contract states that I will keep your images for a minimum of 3 years, but the truth is that I have never actually deleted a wedding, and I just keep buying new hard drives each year for more space. I once had a bride who had a house fire and I was able to get her a new copy of her images fairly easily, even after they’d been married for a few years.
And that brings me to my final point — make sure you BACK UP your own images!! Yes, I keep a copy of them, but it is good practice to make copies yourself. I recommend downloading all the images from your gallery onto your computer, making an additional copy on an external hard drive or thumb drive, and then make a cloud copy on a service like Google Photos, Amazon Photos, or Shutterfly. They don’t really take up all that much space, and if something were to happen, you will be so glad you made the extra bit of effort!
This post contains affiliate links.